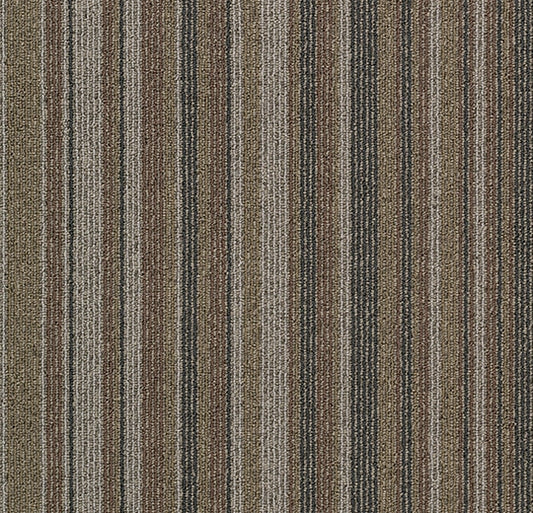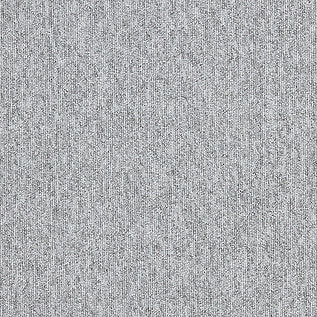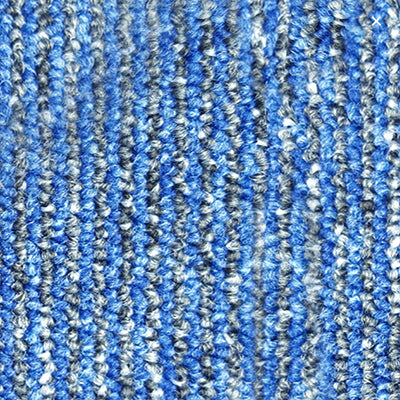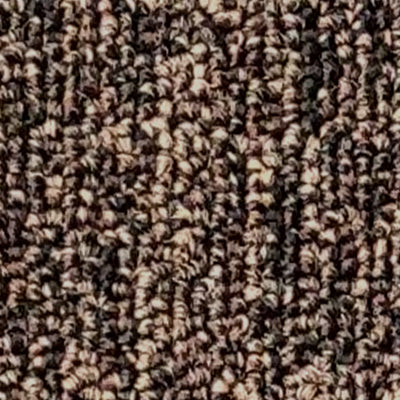
We can supply and fit all of our Carpets and Flooring!
Visit our store or arrange your free choose at home visit
We will call out with samples and provide a fast free quote!
Primavera Gel Carpet Tiles
- Regular price
- £25.99 per m²
- Regular price
-
- Sale price
- £25.99
- Unit price
- per
Marlings Burbury Carpet Tiles
- Regular price
- £24.99 per m²
- Regular price
-
- Sale price
- £24.99
- Unit price
- per
Tessera Barcode Carpet Tiles
- Regular price
- £39.99 per m²
- Regular price
-
- Sale price
- £39.99
- Unit price
- per
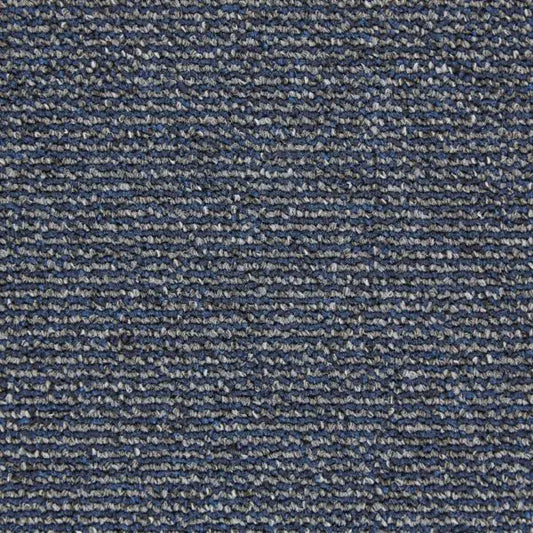
Employ Loop Carpet Tiles
- Regular price
- £24.99 per m²
- Regular price
-
- Sale price
- £24.99
- Unit price
- per
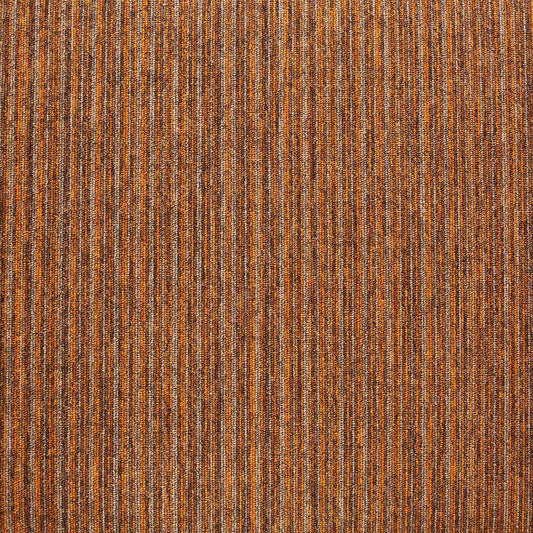
Jazz Spanish Stripe Carpet Tiles
- Regular price
- £22.99 per m²
- Regular price
-
- Sale price
- £22.99
- Unit price
- per
Jazz Heavy Contract Carpet Tiles
- Regular price
- £22.99 per m²
- Regular price
-
- Sale price
- £22.99
- Unit price
- per
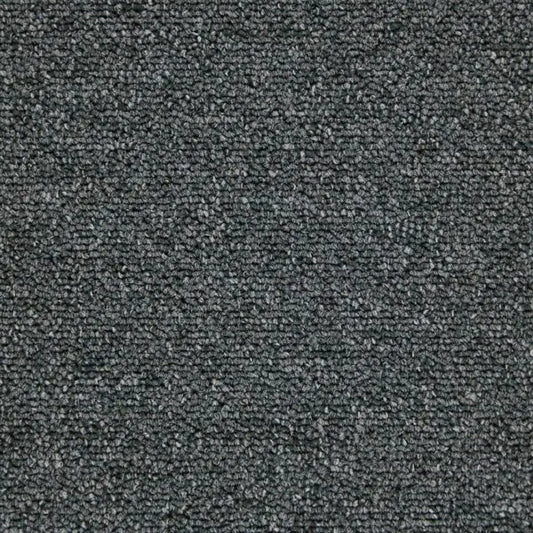
Workspace Loop Carpet Tiles
- Regular price
- £27.99 per m²
- Regular price
-
- Sale price
- £27.99
- Unit price
- per
Array Carpet Tiles
- Regular price
- £24.99 per m²
- Regular price
-
- Sale price
- £24.99
- Unit price
- per
Burmatex Tivoli Multiline Tiles
- Regular price
- £19.99 per m²
- Regular price
-
- Sale price
- £19.99
- Unit price
- per
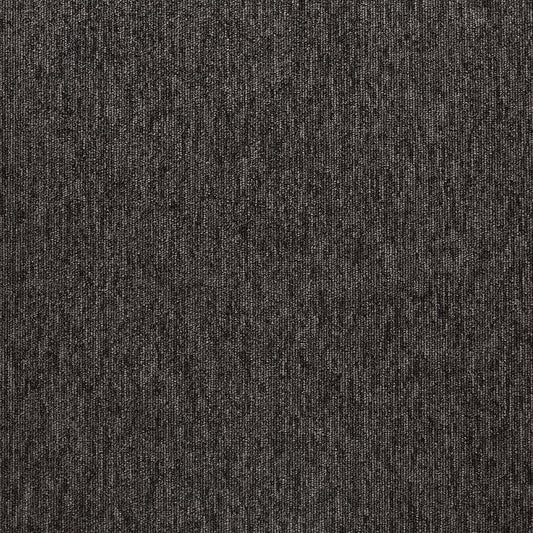
Burmatex Tivoli Carpet Tiles
- Regular price
- £19.99 per m²
- Regular price
-
£22.99 - Sale price
- £19.99
- Unit price
- per
Rimini Stripe Loop Pile Carpet Tiles
- Regular price
- £24.99 per m²
- Regular price
-
- Sale price
- £24.99
- Unit price
- per
Rimini Tile Loop Pile Carpet Tiles
- Regular price
- £24.99 per m²
- Regular price
-
- Sale price
- £24.99
- Unit price
- per

Commercial Carpet Tile Fitting Service Available
Carpet tiles are much warmer underfoot than carpets and due to the thick backing offer excellent sound insulation especially in upstairs classrooms helping to reduce noise transfer.
We also offer Supply only: Some local schools are now ordering our easy to fit Carpet Tiles (Which we can deliver along with adhesives etc) and having their handymen fit these to save money and reduce labour costs.
As well as our Fully Fitted Service: We also offer our expert Carpet Tile fitting service and we can uplift the existing flooring with specialised machines then complete any floor preparation before fitting the tiles and leaving you with a fabulous new floor!
Shop for carpet tiles by brand:
Carpet Tiles FAQs
Carpet tiles are generally more expensive than the cheapest of carpets but in certain areas they can work out cheaper as they can be fitted with little waste.
Carpet tiles can be fitted without adhesive in small areas but in large areas its better to use a tackifier adhesive which will allow the tiles to be uplifted if required.
- Plan the installation carefully. Draw a chalk line down the centre of the area or from a doorway.
- Find the centre point and draw a line at a right angle to the first, as shown in this diagram.
- Lay one row of tiles along each leg or cross.
- If necessary, re-draw the chalk lines so there’s at least half a tile border along each wall.
- Using a v-notched trowel (1/16” x 3/16”) for F3 and F44, or a brush for F41, apply the adhesive evenly over the whole area.
- Let the adhesive dry for 30 minutes or longer, depending on humidity and temperature.
- Working outwards from the centre of the cross, lay the tiles in position, pressing firmly to ensure they stick properly to the surface.
- When fitting tiles at the edge of the room, butt one tile against the skirting, and position the tile to be cut exactly on top of the one immediately behind it, overlapping the butted-up one. Where this crosses, mark and cut the top tile. This will then fit the required space exactly. But the tiles firmly together, but be careful not to compress them too tightly against each other
No – Carpet tiles are designed to be fitted directly to a smooth flat subfloor.
No – Carpet tiles need to be fitted directly to the floor if possible, They could be fitted over sheet vinyl or vinyl tiles that are fully stuck to the floor.
When fitting carpet tiles its best to follow these instructions
- Plan the installation carefully. Draw a chalk line down the centre of the area or from a doorway.
- Find the centre point and draw a line at a right angle to the first, as shown in this diagram.
- Lay one row of tiles along each leg or cross.
- If necessary, re-draw the chalk lines so there’s at least half a tile border along each wall.
- Working outwards from the centre of the cross, lay the tiles in position, pressing firmly to ensure they stick properly to the surface.
- When fitting tiles at the edge of the room, butt one tile against the skirting, and position the tile to be cut exactly on top of the one immediately behind it, overlapping the butted-up one. Where this crosses, mark and cut the top tile. This will then fit the required space exactly. But the tiles firmly together, but be careful not to compress them against each other


